
A door handle is touched dozens of times daily, yet few understand its internal world. Knowing the anatomy helps you choose, install, and maintain door hardware correctly. At YALIS, with 17 years of manufacturing expertise, we break down every component and guide you through a full installation.
 1. Door Handle Anatomy (Illustrated)
| Component | Function |
| Lever/Knob | Operating grip |
| Rosette/Trim | Covers holes, decorative |
| Cylinder (Lock Core) | Key insertion for locking |
| Spindle | Transfers rotation between handles |
| Latch Case | Contains spring bolt |
| Mounting Screws | Secures rosettes to door |
| Strike Plate | Catches latch on door frame |
2. Pre-Installation Checklist
Door parameters:
Thickness: 35–50mm (match spindle length)
Backset: 60mm or 70mm (edge to cylinder center)
Tools needed: screwdriver, tape measure, pencil, drill with hole saw, chisel.
YALIS box includes: 2 levers, 2 rosettes, 1 latch, 1 strike plate, 2 spindles, screw pack, 2–3 keys.
3. 10-Step Complete Installation
Step 1 – Determine door handing
Left vs right / inward vs outward. YALIS handles feature reversible springs for quick adjustment.
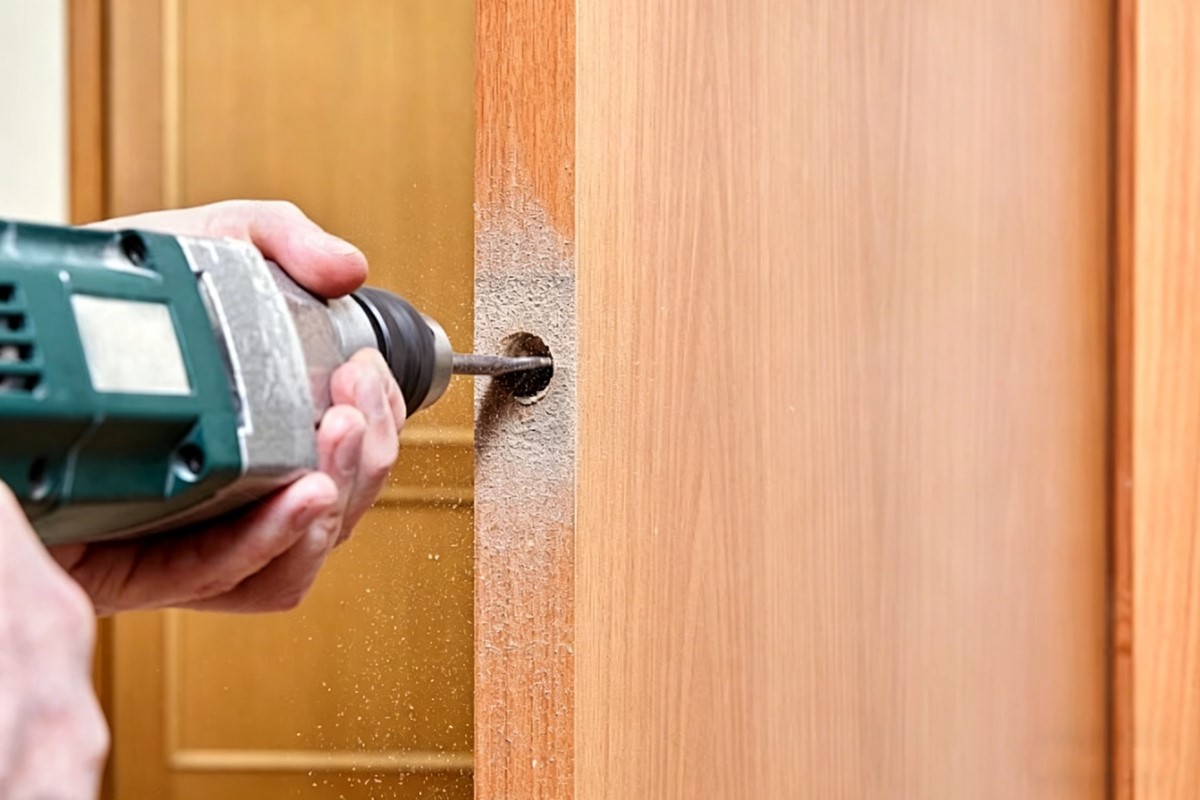
Step 2 – Install latch
Insert latch into door edge hole. Screw flush.
Step 3 – Install cylinder
Insert from outside, secure with set screw.
Step 4 – Insert spindle
Push spindle through latch from outside to inside. Trim if too long.
Step 5 – Attach outside lever + rosette
Slide over spindle, press rosette flush.
Step 6 – Attach inside lever + rosette
Same process, align handles horizontally.
Step 7 – Secure with mounting screws
Long screws through inside rosette to outside threads. Tighten alternately.
Step 8 – Test mechanism
Rotate levers – latch should retract smoothly. Insert key – deadbolt extends.
Step 9 – Install strike plate
Mark latch contact point on frame, chisel recess, screw plate.
Step 10 – Final adjustment
Close door – no sticking. Adjust screws if any looseness.
 4. Why YALIS Makes Installation Easier
Illustrated manual + QR video tutorial in every box
Universal spindles fit 35–55mm doors (no cutting)
Reversible handing – no spring disassembly needed
Online support – live chat or video guidance
 5. Frequently Asked Questions (FAQ)
Q1: Handle won’t spring back after turning?
Spindle may be too long or spring reversed. Trim spindle or check orientation.
Q2: Latch doesn’t retract fully?
Spindle not fully inserted into latch. Reinstall and push deeper.
Q3: Rosettes don’t sit flush on door?
Door surface uneven or screws misaligned. Loosen, realign, retighten.
Q4: Key turns roughly?
Dry graphite lubricant (never oil). YALIS cylinders are pre-lubricated for 50,000 cycles.
Q5: Door closes tight or latch scrapes frame?
Strike plate misaligned. Loosen screws, shift slightly, retighten.
Q6: Can I install an YALIS handle myself?
Absolutely. Our designs are DIY-friendly with clear instructions and video support.
Choose YALIS for door hardware that combines clarity, quality, and ease of installation. Visit www.yalisdesign.com for more.
Post time: Apr-15-2026