
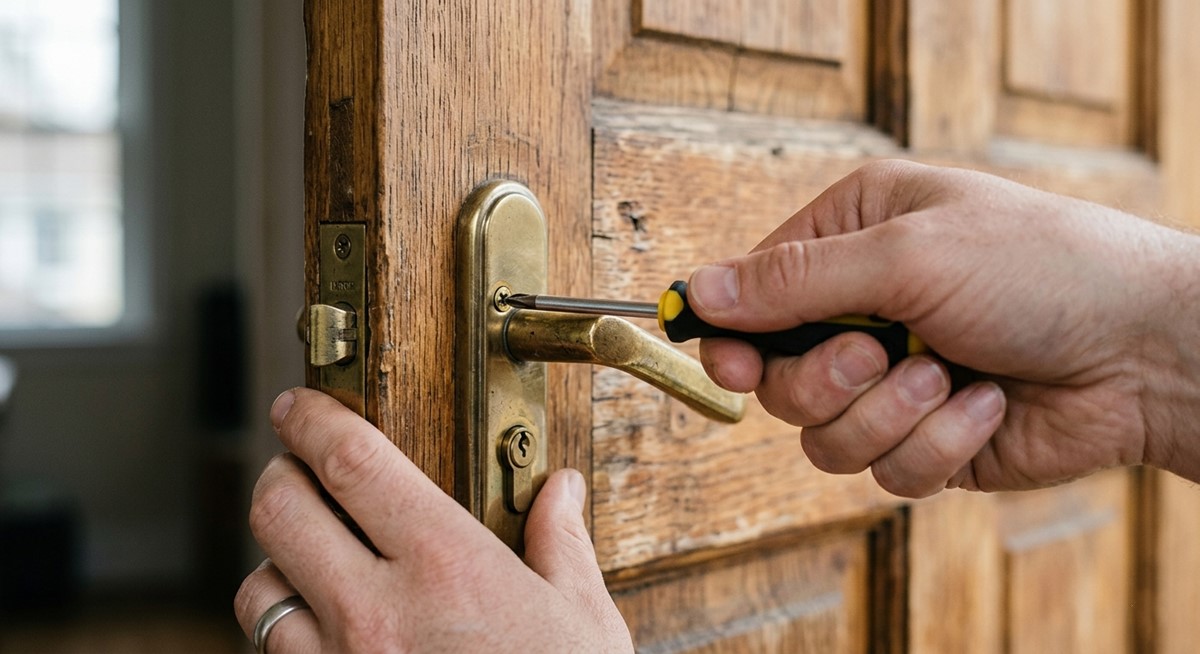
A broken or wobbly door handle is more than a nuisance—it’s a security and safety issue. Before you force it and cause more damage, know that safe removal is often straightforward. This guide from YALIS, experts in premium door hardware, will walk you through the process and help you understand when it’s time for an upgrade.
 Safety & Preparation First
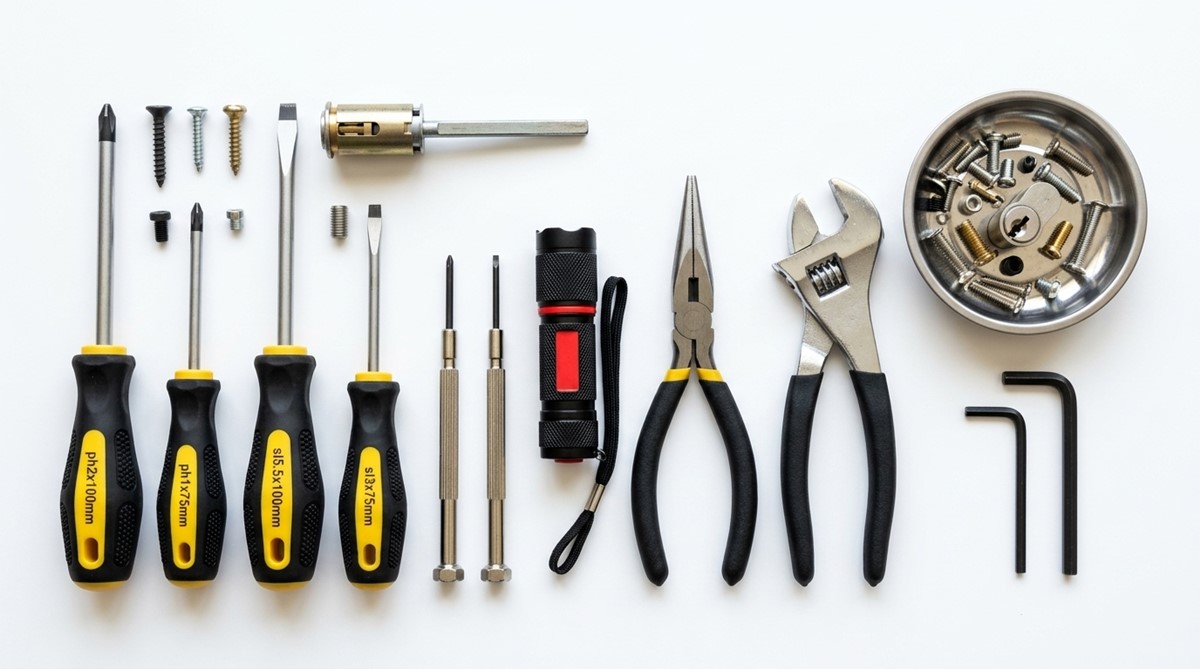
Gather your tools: a screwdriver (Phillips and flat-head), an Allen key set, a pair of pliers, and a flashlight. Place a cloth under the work area to catch small parts. Crucially, if your handle is part of a smart lock, disconnect power or remove batteries first.
Step 1: Locate the Fixing Point
Examine your door handle. The fixing mechanism is usually in one of three places:
Under a small pinhole on the handle’s neck (use an Allen key).
Beneath a decorative side plate (pry it off gently).
On the interior handle’s base (a visible screw).
Step 2: Remove the Handle & Rosette
Once you’ve loosened the set screw or removed the faceplate screw, the exterior handle should pull straight off. The interior handle and its decorative base plate (rosette) can then be removed, exposing the internal mechanism.
Step 3: Remove the Latch Mechanism
With handles off, you’ll see screws on the edge of the door holding the latch plate. Unscrew these and pull the latch straight out from the side of the door.
Dealing with Stubborn Cases
For rusted screws, apply a penetrating lubricant and let it sit. If a screw head is stripped, use a screw extractor kit. Important: Never use excessive force on the door handle itself, as this can damage the door. Sometimes, a misaligned door hinge can stress the handle mechanism—check and tighten hinge screws if needed.
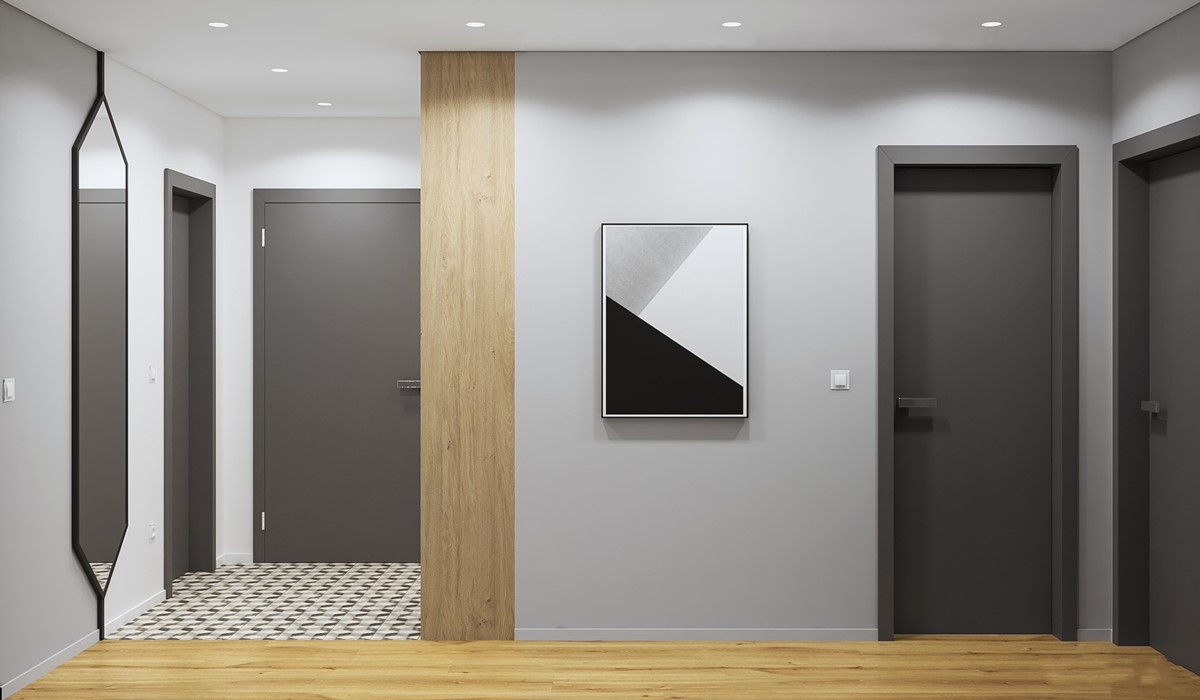
After Removal: Assess and Upgrade
With the old hardware removed, inspect the door. Clean the cavity and check for worn wood or misalignment.
This is the perfect moment to upgrade. Frequent failure points to low-quality materials. At YALIS, we engineer our door handles and door hardware systems for lifelong performance.
Our products feature:
Superior Materials: High-strength alloys and corrosion-resistant PVD coatings.
Precision Engineering: Designed to prevent wobbling, sagging, and mechanical failure.
Complete System Harmony: Our handles are part of coordinated suites, ensuring perfect visual and functional match with your door hinges, door stopper, and locks.
Investing in YALIS means choosing durability and seamless style, turning a repair into a lasting improvement.
Conclusion
Removing a damaged handle is a manageable DIY task that prepares you for a simple replacement. For a solution that combines effortless installation with enduring quality, explore the YALIS collection of robust and stylish door hardware.
FAQ
Q1: My handle is off, but the latch is stuck in the door. What now?
A: Ensure all screws from the edge plate are removed. Spray a little lubricant into the latch hole and use pliers to gently wiggle and pull it straight out.
Q2: The screw holes in my door are stripped. Can I still install a new handle?
A: Yes. Fill the old holes with toothpicks and wood glue. Once dry, you can drill new pilot holes for a secure fit. For a professional result, YALIS handles often come with versatile mounting options.
Q3: Will a new YALIS handle fit my existing door holes?
A: Most YALIS handles are designed to fit standard preparations. Check the product specifications for “backset” measurement (usually 2-3/8″ or 2-3/4″) to ensure compatibility.
Q4: How can I prevent my new handle from loosening again?
A: Use the provided screws and tighten them firmly during installation. Ensure the door is properly aligned by checking and tightening the door hinges. High-quality handles like those from YALIS are less prone to vibration-induced loosening.
Q5: Does YALIS offer all necessary parts for installation?
A: Yes. Our door handle sets typically include all mounting screws, latches, and necessary templates for a complete installation, ensuring a perfect fit and finish.
Post time: Mar-11-2026